
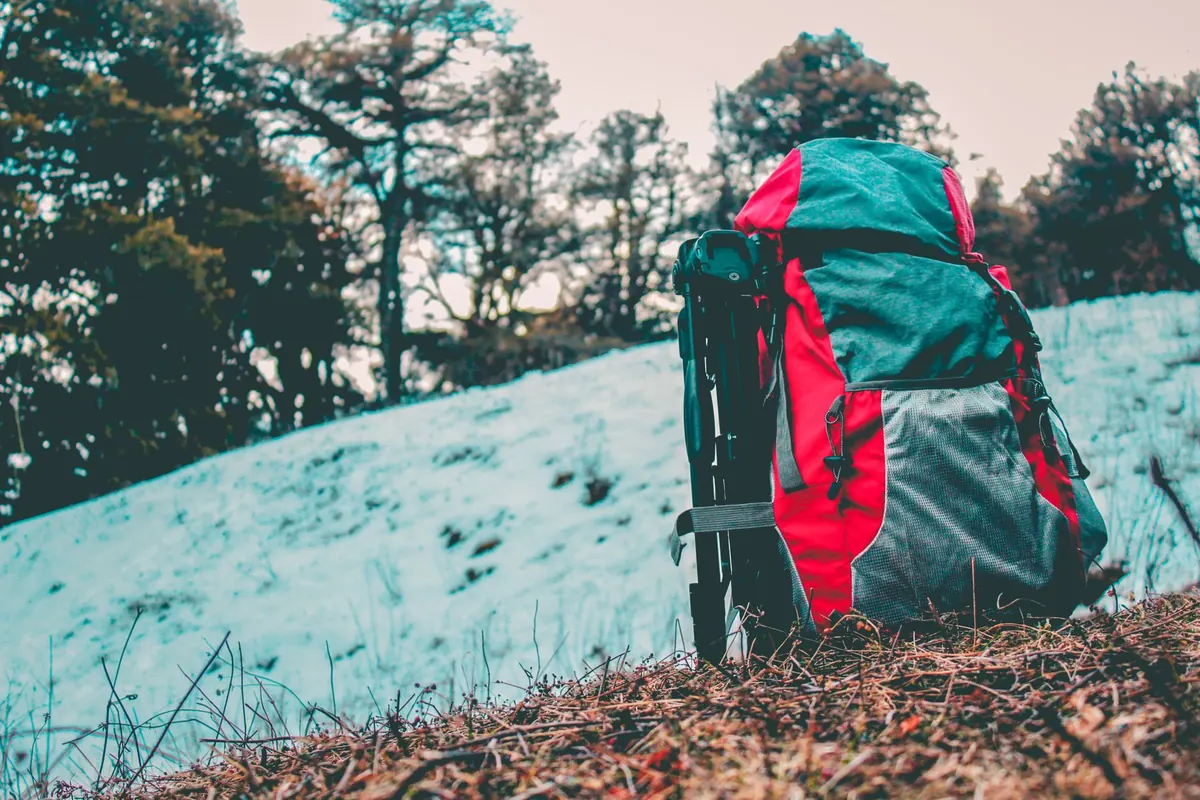
A summer hike forgives a lot. You can forget a hat, run out of water, take the wrong fork, and still come home with a good story. Winter is less generous. The light goes early, the wind strips heat off you faster than you expect, and a wrong turn that cost twenty minutes in July can cost a good deal more when the path is under a metre of snow.
None of that is a reason to stay home. It is a reason to be deliberate. What follows is the list I would hand a friend before their first winter day out: nothing exotic, nothing expensive, just the things that make a cold day on the mountain feel calm rather than uncertain. Copy it into your notes and read it the night before you go.
Start With the Forecast, Not the Backpack
Before you touch your gear, spend ten minutes on where you are actually going. The forecast for the village at 900 metres tells you almost nothing about the ridge at 2,000. Use a mountain forecast that gives conditions by elevation, and read the wind column carefully — wind is what turns a manageable minus-five into something you want to escape.
Three other numbers matter as much as temperature: the freezing level, the snow expected overnight, and the time of sunset. A pass that was walkable in the morning can be a sheet of ice by four, and in December the light can go before you have finished lunch. Set a turnaround time before you leave the car and treat it as firm.
Check the regional avalanche bulletin even if your route stays on gentle ground; it will tell you about recent wind slabs and where they tend to sit. If you cannot yet read that bulletin with confidence, pick a low, wooded itinerary well away from steep open slopes. A short snow and avalanche awareness course is the best money you will spend on this hobby.
Finally, tell one person at home your route, your turnaround time and when you expect to be back. Confirm the pass or forest road to the trailhead is open — winter closures are common and rarely signposted where you would look for them.
Clothing: Dress for the Uphill, Not the Car Park
You will be cold for the first fifteen minutes, warm for the climb, then cold again the moment you stop. Clothing that copes with that cycle is more useful than clothing that is simply thick. The reliable system is three layers plus a spare.
The three layers
- Base layer in merino wool or a synthetic that moves sweat away from your skin. No cotton next to the body: it holds moisture and chills you as soon as you slow down.
- Mid layer in fleece or a light synthetic jacket, easy to remove and stuff into the top of your pack without a long stop.
- Shell that blocks wind and sheds snow. A thin hardshell is usually enough; windproofing matters more than insulation.
Start slightly cold. If you are cosy in the car park, you will be sweating within twenty minutes, and wet clothing is the main reason winter hikers get cold. Open your vents on the climb, put the mid layer back on before you stop moving, and pull the down jacket over everything the moment you sit down to eat.
Hands, feet and head
Extremities are where winter catches people out. Bring thin liner gloves for the climb, a warmer pair for stops, and a spare — gloves get wet, and wet gloves are useless. A hat and a neck gaiter cost almost nothing and change how a windy ridge feels. On your feet: waterproof boots with a little room for thick wool socks, gaiters if the snow is deep, and a dry pair of socks in the pack. Add traction aids for packed snow and a pair of poles; together they turn a nervous descent into an ordinary one.
Navigation: Assume Your Phone Will Die
Cold drains batteries, and the place where you most need a map is often the place with no signal. Treat the phone as a useful second opinion, not your primary tool.
Carry a paper map of the area and a compass, and know at minimum how to line the map up with the terrain in front of you. Download an offline map and check it opens without signal before you leave. Keep the phone in an inside pocket so it stays warm, and pack a small power bank.
In snow, your upward tracks may be the only sign of the route, and fresh snowfall or fog can erase them. Turn around often on the way up and look at the ground as it will appear in the opposite direction. Fix a few unmistakable features in your mind — a rocky outcrop, a bend in a stream, a line of trees — and remember that a whiteout takes the horizon away entirely. If visibility collapses and you are unsure of the way, stop, eat something, add your warm layer and decide calmly. Walking deeper into uncertainty just to stay warm is how small problems become serious ones.
Food and Water: Pack More Than You Think You Need
Cold air and hard work both burn energy, and hunger arrives faster than it does in summer. Eat something small every hour rather than saving it all for a big lunch: a handful of nuts, a piece of chocolate, half a sandwich. Food that freezes solid is no use, so keep bars in an inside pocket, and bring a thermos of something hot. It weighs a little and lifts the mood more than anything else in your pack.
Bottles freeze, and so does the tube of a hydration bladder. Use a wide-mouthed bottle, fill it with slightly warm water, wrap it in a spare layer inside your pack and store it upside down so ice forms at the base rather than the lid. Drink before you feel thirsty, and do not eat snow for water — it lowers your core temperature and gives you very little liquid for the effort. Carry an extra hour of food and water beyond your plan, and do not count on refilling from streams that may be buried or frozen.
The Emergency Kit: Small, Boring, Essential
This is not an expedition survival kit. It is a small pouch that means an unplanned hour of waiting does not turn into something worse. It weighs less than a litre of water.
- A headlamp with spare batteries.
- An emergency bivvy bag or large foil blanket, plus a foam sit pad to keep you off the snow.
- A whistle, which carries further than a voice and costs no energy.
- A basic first aid kit and any personal medication, with a note of what it is.
- Matches or a lighter in a waterproof bag.
- A multitool, a little repair tape and a spare lace.
- Sunglasses with a strong lens, sunscreen and lip balm. Snow reflects sun even under cloud.
- A small power bank for the phone.
For remote routes, a satellite messenger or locator beacon is worth considering, though it is no substitute for the rest of the list. If you have a heart or respiratory condition, or take medication that affects how your body handles cold, speak to a doctor before your first winter outing rather than after it.
The Ten Minutes at the Trailhead
Most mistakes happen in the last few minutes before you walk away from the car. Run through this before you set off:
- Check your layers against the wind, not against the temperature in the car park.
- Say your turnaround time out loud and note the sunset.
- Make sure the map is reachable and the headlamp is in an outside pocket, not buried.
- Send your route and expected return time to your contact.
- Leave a dry base layer and a warm jacket in the car, with a scraper and a blanket. Photo: Avinash Patel / Pexels
Related posts
More stories you’ll love reading