

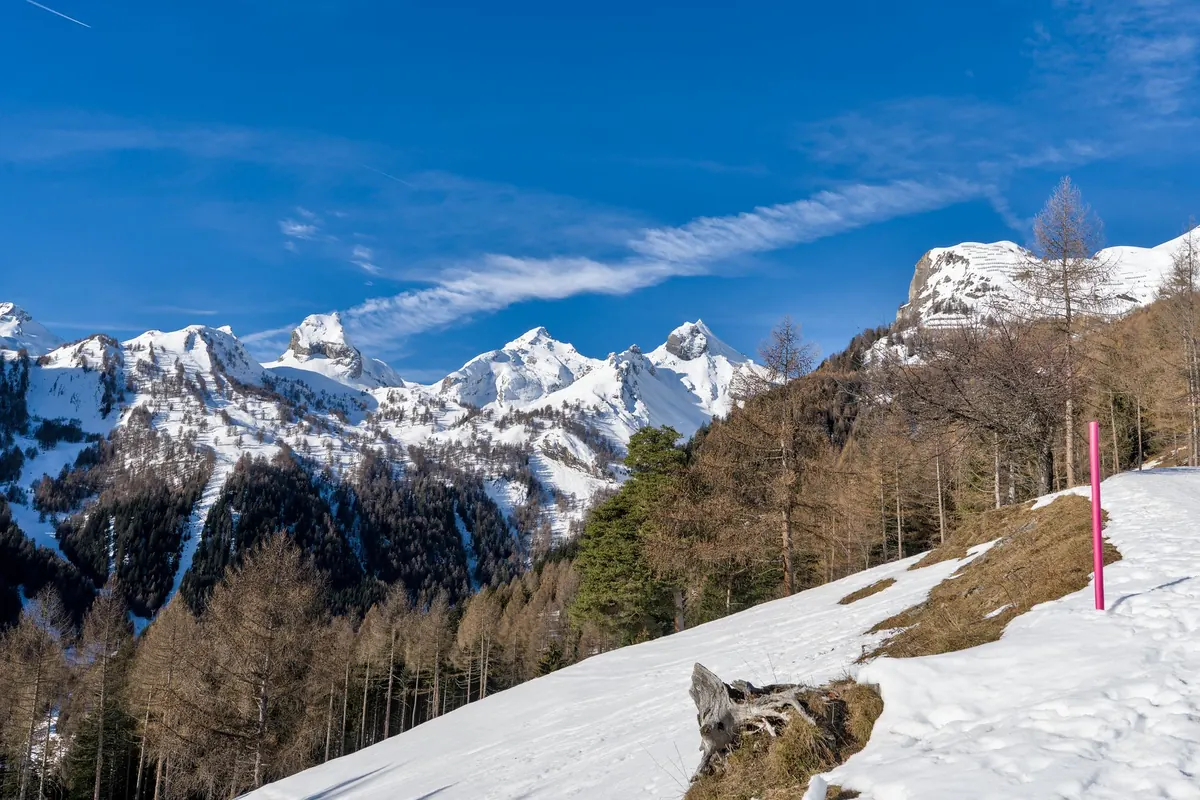
The route you have in mind probably doesn't look like avalanche terrain. It's a forest track, a ridge path, a summer hiking trail with snow on it. Then you unfold the map at the trailhead and notice it crosses the bottom of a broad bowl, and the bulletin that morning mentioned wind slabs on north-facing slopes above 2,200 metres — which is a fair description of what's sitting above your head. Avalanche forecasts are written with skiers and splitboarders in mind, but the information inside them belongs to anyone moving across snowy ground. Learning to read one properly takes an evening. Here is what to look at, in the order that matters.
The Five Danger Levels, Translated for Walkers
Every public bulletin in Europe and North America uses the same five-level scale, and the labels are friendlier than the reality. Low, Moderate, Considerable, High, Very High. The number does not describe how safe the mountains are that day. It describes how likely you are to trigger something, and roughly how big it would be if you did.
Low means triggering is unlikely outside a few isolated places — not impossible. Moderate is the level that lulls people: the weather is often pleasant, the snow looks settled, and the danger sits on specific slopes rather than everywhere. Considerable is where a great many accidents happen, precisely because it still looks manageable and the tempting terrain is still open. High means natural avalanches are likely and human triggering is very likely; stick to low-angle ground well clear of anything steep. Very High means don't go onto avalanche terrain at all.
Two things about the rating catch people out. First, it is regional. The bulletin covers a forecast region, and the forecasters rate it for the worst conditions found anywhere inside it — a valley floor and a 2,600-metre cirque share one number. Second, it applies to a stated window of time, usually given at the top of the bulletin. A rating that expires at midday is not a rating for your afternoon descent.
How to Read the Danger Rose
The rose is the diagram beside the rating, and it is the most useful graphic in the whole bulletin. It answers a simple question the single number can't: where is the problem?
The centre
The centre reproduces the danger level for the region. On its own it tells you very little, which is why the outer ring exists.
The ring around it
The ring is divided into eight sectors — the compass aspects, from north round to northwest — and split into bands for elevation. Shading inside a sector shows where the danger is concentrated. A rose that is lightly shaded on the south and dark on the north and northwest above the treeline is telling you something concrete: the sunny side is comparatively benign, the shaded high ground is not.
Read it as a route-planning tool. If the dark sectors sit above 2,300 metres on north-facing slopes, a walk through larch forest at 1,700 metres on a southern aspect is in a different world from the ridge you were eyeing. Some services also hatch sectors where the rating doesn't apply, or where there isn't enough snow to assess. Treat those as unknown, not as safe.
Avalanche Problems: The Part Most People Skip
Below the rose, bulletins name one or more avalanche problems. These matter more than the number, because each one behaves differently and asks something different of you.
- New snow. Fresh snow building into slabs, most reactive in the first day or two after the storm. Watch the reported snowfall totals and the wind that followed.
- Wind slab. The classic hazard for anyone on foot. Wind transports snow onto sheltered slopes and packs it into slabs that can break under a person's weight — sometimes from below, sometimes from a distance along the ridge. Cracks shooting out from your snowshoes and hollow drum-like sounds are the obvious warnings.
- Persistent weak layer. A buried layer of surface hoar or faceted crystals that stays sensitive for days or weeks. Forecasters write cautiously about these and so should you: low probability, high consequence, and the sort of problem that catches experienced people.
- Wet snow. Spring rain, strong sun and warm nights loosen the pack. Loose wet avalanches come off steep sunny slopes, often in the afternoon. Start early, finish early.
- Glide. Whole slabs sliding on wet ground, usually over smooth grass. Hard to predict and best avoided by not lingering in the runout.
Slope Angle, Aspect, Elevation: What You Can Check Yourself
Most avalanches release on slopes between roughly 30 and 45 degrees. That is the single most useful number in winter travel, and you can measure it yourself without any training course.
- Before you leave home, mark on the map any ground where the contours crowd together — that is your 30-degrees-and-steeper candidate list.
- Note which way those slopes face, and compare with the aspects shaded on the rose.
- Check the elevation band. If the problem is above 2,200 metres and your route tops out at 1,900, you have widened your options considerably.
- Look for terrain traps: gullies, stream beds, small cliffs at the bottom of a slope, benches. They don't cause avalanches, but they make a small one behave like a big one.
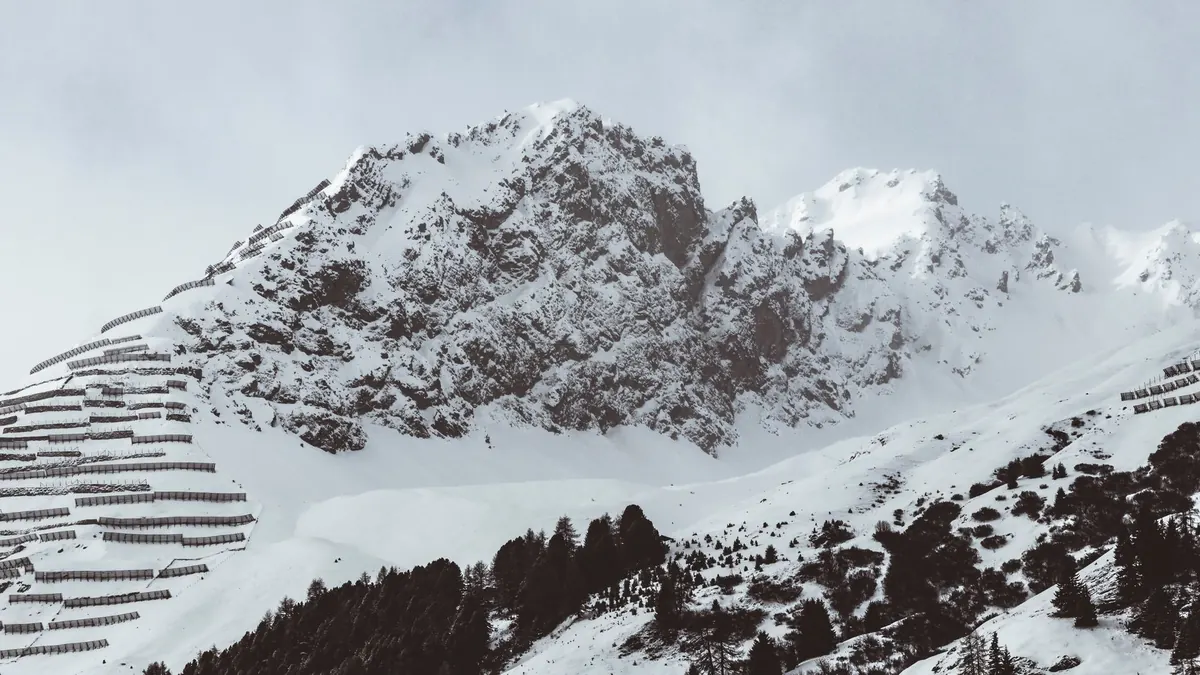
- Ask what is above the path, not just what is under your feet. A flat forest track beneath a loaded 35-degree bowl is avalanche terrain in the only sense that counts.
A phone inclinometer held against the slope from a safe distance settles most arguments. If you're unsure of the angle, assume it's steeper than it looks — foreshortening flatters every slope in flat light.
The Small Print: Validity, Tendency and Travel Advice
Most national services publish in the late afternoon for the following day and refresh in the morning; in Italy that means the AINEVA bulletins and the Meteomont service, with regional agencies filling in local detail, and equivalent services across the border in Switzerland, France and Austria. Check the issue time before you trust anything.
Then read the tendency arrow. Rising, steady or falling, with a time attached, tells you whether tomorrow is the day to go or the day to change plans. Read the snowpack summary too — it is the one paragraph written in plain human language, and it usually explains why the rating is what it is. Finally, read the travel advice. It is short, it is not boilerplate, and it often names the exact elevation and aspect to avoid.
Snowshoes Don't Change the Physics
Your weight spread over two snowshoes is still plenty to break a slab. The difference is not the load; it's the itinerary. Snowshoers and winter hikers tend to move slowly along trails rather than across open slopes, which lowers exposure — until a trail traverses a loaded bowl or a summer path crosses a steep clearing, which is exactly where accidents involving walkers happen.
There's a second difference, and it's the serious one: most hikers carry no transceiver, probe or shovel, and a companion rescue is the only realistic hope in a burial. That's the argument for choosing terrain where rescue will never be needed — slopes under 30 degrees, no steep ground overhead, no terrain traps. If you want to travel in avalanche terrain in winter, get proper training from a qualified provider and carry the kit. For anything beyond that, take advice from a certified mountain guide rather than a website.
Before You Leave the Trailhead
The routine takes ten minutes and it fits in a car park.
- Read the bulletin the evening before and again in the morning. Note the rating, the avalanche problems, and the aspects and elevations named.
- Write three things on your phone: the danger level, the main problem, and the elevation band. Vague memories of a forecast are worse than none.
- Choose a route whose steepest ground stays under 30 degrees and that doesn't pass beneath steeper slopes.
- Check the weather for new snow, wind and rain, and adjust the plan for warming during the day.
- Tell someone where you're going and when you'll be back, and set a turnaround time.
- Turn around if you see fresh avalanche debris, shooting cracks, or hear the snow collapse under you with a hollow whumpf.
Conditions change faster than forecasts do. A bulletin is a starting point for a decision you keep making all day, in the car park, at the treeline, and at every slope you meet.
Photo: Andreas Ebner / Pexels
Related posts
More stories you’ll love reading